
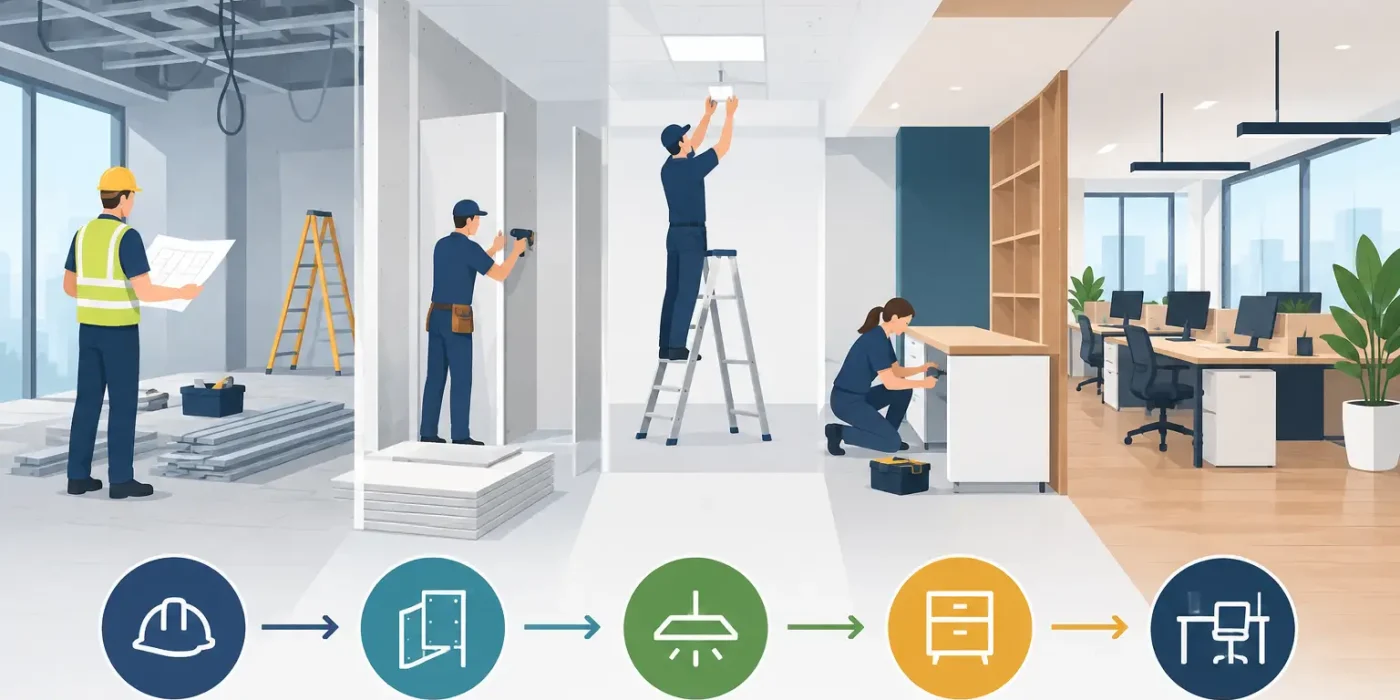
A hotel guestroom ceiling is closed before the FCU access panel location is confirmed. A retail feature wall arrives before its power and data points are tested. A reception counter is installed before the finished floor level is established. These are not isolated site errors. They are sequencing failures. Knowing how to sequence fit-out installations gives project teams a controlled route from approved drawings to handover, protecting design intent, program certainty, and installation quality.
Fit-out sequencing is more than placing trades in a logical order. It is the disciplined management of dependencies between structure, MEP services, finishes, joinery, equipment, inspections, and access. On villas, hotels, restaurants, offices, cinemas, and retail spaces, the correct order varies by project. The principle remains consistent: do not install work that prevents another trade from completing, testing, inspecting, or adjusting its own work.
Start With an Installation-Ready Information Package
A construction program cannot compensate for incomplete coordination. Before site installation begins, the project team should establish one coordinated information package that identifies what is being installed, where it interfaces with other elements, and what must happen first.
Shop drawings should resolve dimensions, wall build-ups, reflected ceiling plans, floor levels, material transitions, joinery fixing methods, access requirements, and service zones. They should also show the relationship between architectural finishes and MEP components. A decorative ceiling, for example, is not ready for installation until lighting, sprinklers, smoke detectors, grilles, access panels, and ceiling suspension details have been coordinated.
The same applies to bespoke joinery. Fabrication drawings must confirm wall conditions, backing requirements, electrical provisions, plumbing connections, appliance clearances, and finished floor levels before materials are released. A cabinet may look correct in elevation while being impossible to install if a concealed service point or structural projection has not been accounted for.
At this stage, create a sequence register that links each installation package to its prerequisites. It does not need to be overly complex, but it should identify approved drawings, material samples, mockups where required, preceding works, inspections, and responsible parties. This converts design information into a workable site plan.
How to Sequence Fit-Out Installations by Dependency
The most reliable approach is to sequence work according to physical dependencies rather than trade preference. A joinery contractor may be ready to install, but readiness alone is not a reason to proceed. The room, adjacent services, substrates, and access routes must also be ready.
1. Verify the base build and site conditions
Fit-out work should begin only after the relevant base-build areas are released, measured, and checked. Confirm slab levels, wall plumb, openings, shaft positions, waterproofing zones, and structural supports. Survey records are particularly valuable for high-tolerance elements such as stone cladding, feature ceilings, glazed partitions, and full-height joinery.
This early verification avoids a common and expensive problem: fabricating to design dimensions when actual site dimensions differ. Where discrepancies exist, resolve them through revised coordination drawings before installation or fabrication proceeds.
2. Complete first-fix MEP before closing surfaces
After layout setting out and partition framing, first-fix MEP work generally follows. This includes concealed electrical containment, plumbing, drainage, ductwork, pipework, fire protection, low-current systems, and equipment supports. The sequence must allow all services to be installed, pressure-tested, inspected, and coordinated before walls and ceilings are closed.
Not every service needs to be finished across the entire project before fit-out progresses. Large projects often benefit from zone-based release, such as guestroom floors, retail units, restaurant back-of-house areas, or cinema halls. However, each zone should have clear handover criteria. A ceiling zone is not released merely because services appear installed. It must be verified against coordinated drawings, tested where applicable, and free from unresolved clashes.
3. Close partitions and ceilings only after inspections
Wall boards, ceiling closures, and decorative bulkheads are significant hold points. Once complete, they restrict access to concealed services and can make later changes disruptive. Before closure, inspect service routes, access panel locations, support framing, acoustic treatment, fire stopping, and ceiling coordination.
This is also the right point to confirm that access remains practical. An access panel may satisfy a drawing requirement but still be ineffective if it opens above fixed joinery, a tight soffit, or an inaccessible ceiling bay. Coordination should consider future maintenance, not only installation.
4. Establish wet-area and floor-finish readiness
Bathrooms, pantries, kitchens, and other wet areas require their own sequence. Waterproofing, flood testing, screed levels, drainage falls, and wall substrate preparation must be approved before tiles, stone, sanitaryware, or fixed cabinetry are installed. Starting finishes before tests are completed can turn a manageable defect into a demolition exercise.
Floor finishes need the same discipline. Confirm moisture conditions, screed curing, level tolerances, and protection requirements before laying carpet, timber, vinyl, stone, or tile. Finished floor level is a controlling dimension for door clearances, skirting, partition details, counter heights, and joinery toe-kicks. If it changes late, several packages may require adjustment.
5. Install fixed joinery after its interfaces are stable
Fixed joinery is often one of the most visible and costly fit-out packages, so it should not be used to conceal unresolved work. Install reception desks, wardrobes, vanity units, kitchen cabinets, retail displays, wall paneling, and bar counters after surrounding finishes, service locations, and substrate conditions are confirmed.
There are exceptions. Some joinery components need to be installed before final finishes because they form part of the wall build-up or provide support for adjacent panels. In these cases, the shop drawing must clearly distinguish between early carcass installation, final face-panel installation, and protection requirements. This prevents completed elements from being damaged while other trades continue.
6. Coordinate second-fix, equipment, and final adjustments
Second-fix MEP typically follows the completion of major finishes and fixed elements. Light fittings, switches, sockets, grilles, sanitaryware, controls, and visible devices should align accurately with the final architectural setting-out. This is particularly important in hospitality and retail environments, where a misaligned downlight, grille, or control plate can compromise an otherwise refined interior.
Loose furniture, appliances, signage, specialist equipment, and decorative accessories should be introduced late enough to avoid damage and early enough to allow commissioning, testing, and client review. A commercial kitchen, for example, needs service connections, ventilation checks, and operational testing before practical completion. A cinema requires equipment integration and acoustical verification, not simply the delivery of seats and screens.
Use Zones, Hold Points, and Protection Plans
A single master schedule is necessary, but it is not sufficient for day-to-day fit-out control. Divide the project into manageable zones and define release conditions for each one. This provides trade contractors with clear working fronts and allows the project manager to identify restrictions before labor and materials are committed.
Hold points should be placed before concealed works, before finish installation, before joinery fixing, and before final handover. At each point, the responsible parties should confirm drawing revision status, dimensions, material approval, quality checks, and outstanding snags. The purpose is not to create bureaucracy. It is to prevent a small unresolved issue from becoming embedded in completed work.
Protection planning is equally important. Completed floors, stone surfaces, joinery, glass, and metal finishes can be damaged by later access, deliveries, dust, and wet trades. Assign ownership for protection, define acceptable materials, and inspect protection regularly. Poor protection often creates avoidable rework near the end of the program, when time pressure is highest.
Maintain Coordination When Site Conditions Change
No fit-out project proceeds exactly as first planned. Late design decisions, supplier substitutions, site tolerances, authority comments, and base-build changes can alter the installation sequence. The risk is not change itself. The risk is allowing changes to move informally through the site without revised documentation and clear instruction.
When a change affects interfaces, update the relevant shop drawings and assess the impact on fabrication, procurement, access, and adjacent trades. A revised ceiling light position, for instance, may affect ductwork, sprinkler coverage, ceiling framing, feature panels, and electrical containment. Treat it as a coordinated decision rather than a simple site adjustment.
Design Studio LLC supports this process through accurate, comprehensive fit-out and joinery shop drawings that give project teams a dependable technical basis for fabrication and installation. Clear documentation helps contractors identify constraints early, protect approved design intent, and sequence work with fewer assumptions on site.
The strongest fit-out programs are built around verified conditions, approved information, and disciplined release of each workfront. When every installation package is allowed to proceed only when its dependencies are genuinely complete, the result is not just a cleaner schedule. It is a site that can deliver refined interiors with fewer disruptions, less rework, and greater confidence at handover.