
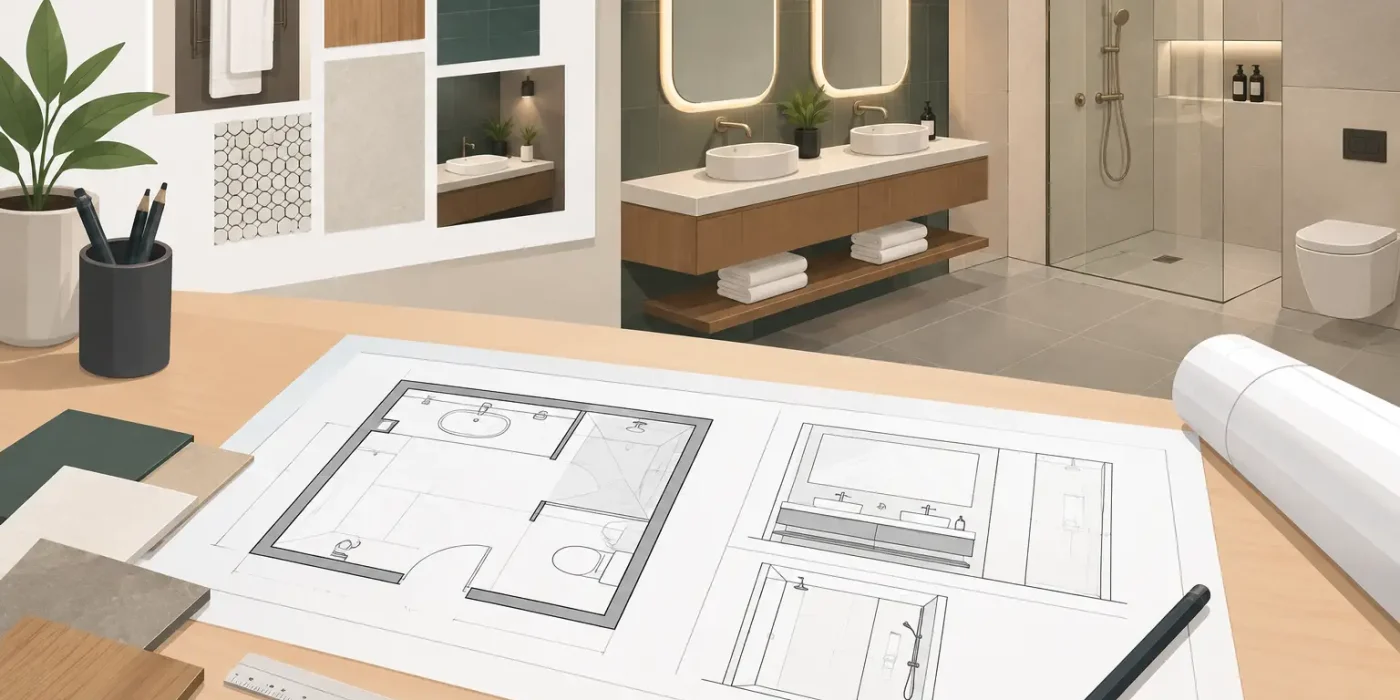
A hotel bathroom can occupy a small footprint while carrying an unusually high coordination burden. Within a few square feet, the fit-out team must align sanitaryware, plumbing, electrical points, ventilation, waterproofing, stone or tile finishes, mirrors, accessories, and custom vanity joinery. This hospitality bathroom drawing guide explains how to turn the intended guest experience into coordinated, fabrication-ready information that supports quality installation.
For hotel operators and project teams, the objective is not simply a visually attractive bathroom. It is a repeatable room type that performs reliably, can be cleaned and maintained efficiently, complies with project requirements, and can be delivered across hundreds of keys without site improvisation.
Start With a Coordinated Bathroom Basis
Bathroom shop drawings should begin only after the design intent has been tested against the architectural grid, approved room layout, structural constraints, and MEP design. A vanity that looks correctly positioned on an interior design plan may conflict with a plumbing stack, access panel, duct route, or door swing once technical coordination begins.
The drawing package should establish a single reference point for dimensions and levels. This includes finished floor level, ceiling level, wall build-up thicknesses, door opening dimensions, and the centerlines of key fixtures. In hospitality projects, minor inconsistencies multiply quickly. A 10 mm discrepancy in a typical-room bathroom can affect vanity fabrication, tile setting-out, glass partition alignment, and the placement of accessories throughout the property.
Before developing detailed elevations, the drafting team should confirm the bathroom type schedule. Typical guest rooms, accessible rooms, suites, connecting rooms, public restrooms, spa changing areas, and staff facilities may share finishes while requiring different clearances, fixture arrangements, or operating requirements. Treating every bathroom as a variation of one typical detail often creates avoidable site queries.
What a Hospitality Bathroom Drawing Package Should Include
A complete package is coordinated across disciplines rather than limited to attractive interior elevations. The level of detail depends on procurement route and project stage, but an installation-ready set normally includes the following information:
- Dimensioned general arrangement plans showing walls, doors, fixtures, floor falls, drains, and setting-out references.
- Internal elevations for every wall, with finish extents, tile grid, sanitaryware, accessories, mirrors, lighting, and service points.
- Reflected ceiling plans identifying ceiling levels, access panels, exhaust grilles, downlights, shower lighting, and ceiling finish transitions.
- Joinery drawings for vanities, mirror cabinets, ledges, storage units, and service-access elements.
- Sections and enlarged details at showers, bathtub surrounds, vanity walls, thresholds, niches, glass screens, and waterproofing transitions.
- Schedules for sanitaryware, fittings, accessories, tiles, stones, glass, sealants, and hardware, coordinated with approved samples and specifications.
The value of these drawings lies in their relationship to one another. A wall elevation cannot show a rain shower at one height while the plumbing coordination drawing locates the concealed valve elsewhere. Similarly, a reflected ceiling plan must allow practical access to valves, fan coil equipment, or controls where required. Drawing coordination is where design intent becomes buildable.
Plan the Layout Around Use, Maintenance, and Tolerances
Guest comfort begins with circulation. Door swings, shower screen openings, toilet clearances, towel access, and the approach to the vanity should be reviewed at full scale, particularly in compact rooms. A drawing should demonstrate not just that fixtures fit, but that a guest and housekeeping staff can use the space without awkward conflicts.
The vanity deserves particular attention because it brings several trades together. Its overall width, countertop depth, basin position, tap centerline, mirror location, lighting, waste connection, and under-counter access all need agreement before manufacture. If the vanity is stone-clad or integrates a backlit mirror, the drawings must also define support framing, fixing methods, removable panels, and power provisions.
Tolerance planning is equally important. Walls are rarely perfectly straight, and tiles, stones, glass, and joinery each have different fabrication and installation tolerances. Avoid fixing vanity dimensions solely from unfinished masonry lines. Show datum references, required scribe allowances, packing zones, and concealed shadow gaps where applicable. These details protect the visual quality of the room while giving installers a realistic method of adjustment.
Coordinate MEP Before Issuing Joinery for Fabrication
Bathroom coordination often fails when services are treated as a separate exercise from finishes and joinery. Concealed plumbing may require a deeper wall, a revised vanity carcass, or an access solution that affects the final appearance. Electrical outlets in vanity drawers, demister pads behind mirrors, sensor controls, and lighting drivers all require physical space and maintainable access.
A practical coordination review should compare the interior drawing set against plumbing, electrical, and mechanical information line by line. Confirm hot and cold water points, waste routes, floor drain locations, ventilation grilles, electrical isolators, lighting controls, and low-current requirements. The team should also verify whether fixture manufacturers specify exact rough-in dimensions, pressure requirements, or service clearances.
Where the project uses prefabricated bathroom elements or repeated vanity units, early coordination delivers substantial commercial value. Once a typical detail is resolved and signed off, the same controlled information can support consistent production across room floors. However, repetition should not hide genuine site differences. Stack offsets, structural drops, and shaft positions must still be checked by room type and location.
Draw Waterproofing and Floor Falls as Construction Details
Waterproofing is not a background specification item. It needs clear representation in plans, sections, and details, especially at shower zones, thresholds, drains, niches, and wall-to-floor junctions. The drawings should identify the required waterproofing extents, membrane upturns, protective layers, sealant joints, and interfaces with door frames or glass screens in line with the project specification and local requirements.
Floor falls require the same discipline. A plan may show a linear drain, but the installer also needs the fall direction, drain level, tile cut strategy, and transition to the dry zone. Large-format tiles can create a conflict between the desired visual pattern and the geometry required to drain water effectively. In those cases, the project team must make a deliberate choice: adjust the tile layout, select a different drain solution, or introduce a discreet fall line. The right answer depends on the finish, room type, and performance criteria.
Threshold details should be reviewed early. A level entry can improve accessibility and visual continuity, yet it demands precise waterproofing, drainage, and door-frame coordination. In other projects, a modest threshold may provide a more forgiving water-control detail. The drawings should make that decision explicit rather than leaving it to site interpretation.
Use Elevations to Control Finish Quality
Bathroom elevations are the primary control document for visual alignment. They should show tile module sizes, joint locations, stone grain direction where relevant, feature bands, niches, mirror edges, accessory heights, and the relationship between fittings and finish joints. Centering a mixer on a tile joint or placing a socket against a narrow tile cut can weaken an otherwise refined design.
Finish setting-out should account for real fixture dimensions, not generic symbols. Confirm the actual cover plates, basin outlines, shower controls, hand shower brackets, toilet flush plates, and accessories selected for the project. This is especially important where premium finishes use book-matched stone, mosaic, metal trims, or custom-cut porcelain.
Mock-ups are valuable for high-end rooms and public bathrooms because they test more than appearance. They reveal whether joints align, access panels are discreet, cleaning is practical, lighting is flattering, and components can be installed in the intended sequence. The drawing package should be updated to reflect approved mock-up decisions, not left behind as an earlier design record.
Establish Clear Approval and Revision Control
Hospitality projects move quickly, and bathrooms can be affected by late selections, operator comments, or procurement substitutions. A controlled drawing process identifies revision status, issue purpose, approved materials, and outstanding coordination items. Fabrication should not proceed on drawings marked for review or on an elevation that does not match the latest fixture schedule.
Design Studio LLC supports this process through detailed shop drawings developed by a dedicated team of joinery and fit-out draughtsmen and coordinators. For hotel projects, the focus is clear: provide coordinated technical information that allows designers, contractors, manufacturers, and site teams to work from the same intent.
The best hospitality bathrooms feel effortless to the guest because the complexity has been resolved before installation begins. When the drawing set makes every interface clear, the site team can spend less time interpreting and more time delivering the finish, performance, and consistency the hotel brand expects.