
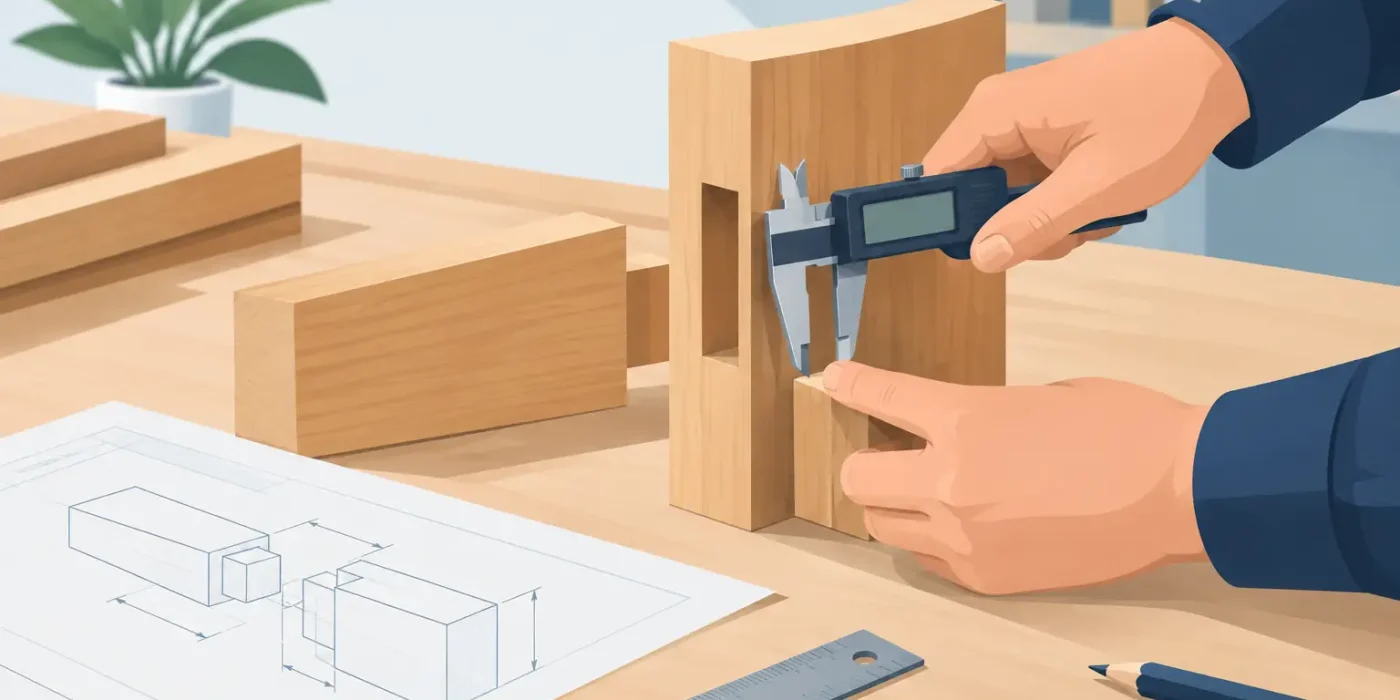
A 3 mm discrepancy at a single cabinet may be manageable. The same discrepancy repeated across a hotel corridor, retail wall, or full-height villa wardrobe can produce visible misalignment, delayed installation, and costly rework. Knowing how to verify joinery tolerances is therefore not simply a quality-control task. It is a coordinated process that protects design intent while allowing fabrication and site teams to work with realistic construction conditions.
For fit-out projects, tolerance verification starts well before materials are cut. It depends on accurate shop drawings, confirmed site dimensions, clear interfaces between trades, and an approval process that identifies risks while there is still time to resolve them. The objective is not to demand theoretical perfection from the site. It is to define acceptable variation, assign responsibility for each interface, and ensure the installed joinery reads as intended.
Start With the Right Reference Dimensions
Every tolerance check needs a reliable datum. Without one, individual dimensions may appear correct while the overall installation drifts out of position. Establish the project control lines, finished floor levels, wall faces, ceiling levels, and structural grid references before reviewing joinery dimensions.
The joinery team should distinguish between design dimensions and verified site dimensions. Design dimensions communicate the intended arrangement. Verified dimensions reflect the actual condition after partitions, flooring, screeds, cladding, and other relevant work have been completed or accurately surveyed. Fabrication should be based on the latter wherever possible.
This distinction is particularly important for full-height units, reception counters, feature walls, kitchen installations, and continuous cabinetry. A room may be nominally square on architectural plans but vary significantly on site. If a cabinet run is fabricated to the nominal width without allowing for wall deviation, the last panel may not fit or the required shadow gap may disappear.
Confirm Which Finishes Are Included
A frequent source of error is measuring to unfinished surfaces while detailing joinery to finished faces. The drawing package should clearly state whether dimensions are taken to blockwork, drywall framing, finished gypsum board, tile face, stone cladding, carpet, raised flooring, or another completed finish.
For example, a vanity unit set between two tiled walls must be checked against the tile face, including adhesive buildup, not against the substrate. Similarly, a ceiling-high wardrobe requires a confirmed finished ceiling level, not only the slab soffit level. These details are small on paper but decisive during installation.
How to Verify Joinery Tolerances in Shop Drawings
A fabrication-ready shop drawing does more than show dimensions. It identifies the dimensions that are fixed, the dimensions that must be site-verified, and the areas where adjustment is expected. This allows the manufacturer and site team to make decisions before production rather than improvising during installation.
Begin by reviewing the overall dimensions, then work inward. Check the unit width, height, depth, and position against the latest coordinated architectural and interior drawings. Next, check door and drawer clearances, panel joints, reveals, hardware requirements, access panels, and relationships to adjacent finishes. A unit may fit its opening but still fail if a door strikes a wall return or a drawer cannot clear a projecting handle.
Dimension chains deserve special attention. Avoid relying on a sequence of small dimensions that accumulates across a long run. Where possible, show a controlling overall dimension and reference critical elements back to a single datum. This makes discrepancies easier to identify and reduces the risk of one adjustment affecting multiple components.
Shop drawings should also identify tolerance zones. For example, a scribed end panel may allow the installer to absorb a wall irregularity, while a fixed decorative metal trim may require a tighter substrate tolerance. The drawing should not leave this judgment to the installer. It should state where scribing, packing, trimming, shimming, or adjustable brackets are permitted and where clean, fixed alignment is required.
Check the Interfaces That Create Most Rework
Joinery rarely fails in isolation. Most installation issues occur where it meets another trade. The verification process should focus on these interfaces early, especially when the program is compressed.
The following conditions typically require coordinated tolerance checks:
- Joinery against uneven walls, columns, bulkheads, and finished floor transitions
- Cabinetry integrated with stone, glass, metalwork, upholstery, or decorative lighting
- Units containing electrical outlets, data points, plumbing fixtures, HVAC grilles, and fire-system components
- Doors and drawers operating near walls, circulation routes, appliance doors, or adjacent furniture
- Full-height panels and ceilings where level variation affects consistent reveals
For each interface, define the visible requirement and the construction allowance. A reception desk may require a perfectly straight front elevation, even if the wall behind it is irregular. In that case, the rear condition must absorb the variation through concealed packers, scribed panels, or a service void. By contrast, an open shelving unit between two finished walls may need a deliberate clearance and trim detail to accommodate both measurement variation and installation movement.
Use Site Surveys as a Formal Hold Point
Site measurement should be treated as a controlled project milestone, not an informal visit before fabrication. The survey should occur when the relevant construction work is sufficiently complete and stable. Measuring before floor finishes, wall cladding, or ceiling framing is finalized can create false certainty and lead to avoidable revisions.
A useful survey record includes overall and local dimensions, diagonals, levels, plumb readings, photographs, datum references, and notes on incomplete work. Laser measurements provide speed and accuracy, but they do not replace professional judgment. The surveyor must recognize whether a variation is isolated, progressive, or likely to change when another trade completes its work.
For long joinery runs, take dimensions at multiple points rather than measuring only at the ends. Record wall-to-wall widths at floor, mid-height, and top level. Check depths along the run where columns, skirting, or service routes may affect the cabinet line. For tall units, verify floor-to-ceiling measurements at several locations and compare them with the planned reveal or shadow-gap detail.
When conditions fall outside the expected tolerance, issue a clear technical query before release for production. The response may require a revised detail, an adjustment to the opening, a change in fabrication dimensions, or a redesigned trim solution. What matters is that the decision is documented and approved by the relevant project stakeholders.
Match Tolerances to Materials and Visual Intent
Not every material behaves the same way, and not every location requires the same degree of precision. Joinery tolerance planning must reflect material movement, fabrication capability, installation method, and the visibility of the finished detail.
Natural timber and veneer require allowance for movement and careful grain alignment. Stone, porcelain, glass, and metal may require tighter fabrication control but offer limited opportunity for site trimming. Laminate and painted MDF can accommodate certain adjustments, although exposed edges, consistent reveals, and gloss finishes will make minor variation more visible.
The visual standard also matters. A concealed service cabinet can tolerate a practical construction gap if it remains accessible and stable. A luxury retail display, cinema feature wall, or hotel front-of-house joinery element may require tightly controlled joints because guests will view it at close range and under directional lighting. In these areas, mockups or sample sections can confirm whether the specified reveal, edge detail, and finish transition are achievable before full production.
Coordinate Approval Before the Cutting List Is Released
The final check should happen before the cutting list, procurement, or CNC files are released. At this point, the shop drawing, site survey, material specification, and interface details must agree. A revision to one item should trigger a review of the others, particularly where repeated modules or connected elevations are involved.
An effective approval process identifies the drawing revision, survey date, outstanding assumptions, and any dimensions marked for final site confirmation. It should also make clear who has approved the design appearance, who has accepted site conditions, and who is authorized to release fabrication. This level of control is especially valuable on hospitality, retail, and commercial projects where multiple consultants, operators, contractors, and specialist suppliers are involved.
Design Studio LLC supports this process through accurate, comprehensive joinery shop drawings that translate design intent into fabrication-ready and installation-ready information. With a dedicated technical team coordinating dimensions, materials, finishes, and site interfaces, project teams can identify tolerance risks before they affect procurement or installation.
Build Adjustment Into the Installation Plan
Even well-coordinated projects require controlled adjustment on site. The purpose of tolerance verification is not to eliminate all adjustment. It is to ensure that adjustment occurs in planned, non-visible areas and does not compromise function, finish quality, or safety.
Installation drawings should show fixing locations, packer zones, adjustable brackets, access requirements, and sequence dependencies. A tall cabinet may need to be leveled from the finished floor before it is fixed to the wall. A panel system may need a defined starting point so that consistent reveals are maintained across the elevation. A stone countertop may need to be templated after base units are installed and checked for level.
The installer should inspect each completed section before proceeding to the next. Check plumb, level, alignment, reveal consistency, door operation, hardware function, and finish protection. Addressing a developing issue at the first two units is far less expensive than correcting it after an entire floor or retail zone is complete.
The best tolerance strategy is visible in the finished result, not in the amount of site correction required. When drawings, surveys, fabrication, and installation all work from the same verified information, joinery can absorb real site conditions while retaining the clean lines, reliable operation, and precise finish the project was designed to deliver.