
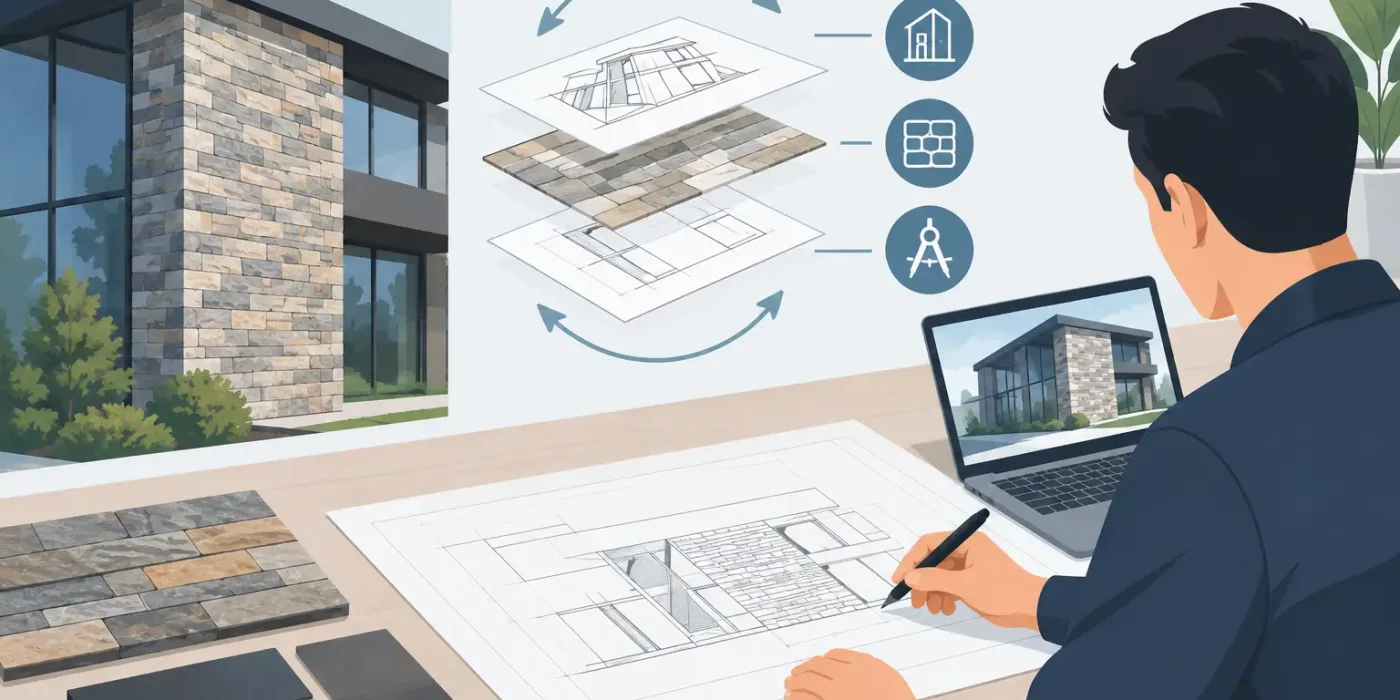
Stone cladding failures rarely begin with the stone itself. They begin when coordinate stone cladding drawings do not clearly resolve the relationship between the facade or interior finish, the supporting substrate, adjacent systems, and installation tolerances. A visually refined stone elevation can quickly become a site issue when slab edges vary, openings move, joint locations are not aligned, or the nominated fixing system has not been coordinated with the actual construction build-up.
For villas, hotels, retail environments, and commercial fit-out projects, stone is often a high-value finish with little tolerance for improvised decisions. Accurate coordinated drawings turn the approved design into a practical installation package that fabricators, suppliers, and site teams can execute with confidence.
Why Coordinate Stone Cladding Drawings Before Fabrication
Stone cladding is not a single-trade item. Its final appearance depends on decisions made across architectural, structural, waterproofing, glazing, metalwork, MEP, and fit-out packages. The drawings must therefore do more than show panel sizes. They need to establish where the stone starts and stops, how it is fixed, how it transitions to other finishes, and what happens when site conditions differ from the idealized design model.
This coordination is especially critical where natural stone is used. Veining, grain direction, book-matching, thickness variation, and quarry yield can affect the final panel layout. A large-format marble wall may look continuous in a rendering, but the shop drawing must identify realistic slab sizes, joints, returns, recesses, and access requirements for installation.
The cost of resolving these questions late is significant. Recutting stone, relocating anchors, revising adjacent finishes, or accepting uneven joints can affect both program and quality. Early coordination helps project teams make informed trade-offs before materials are ordered and site work progresses.
Start With a Reliable Design and Site Information Base
A stone cladding drawing package is only as accurate as the information used to produce it. The drafting team should work from the latest approved architectural plans, elevations, sections, finish schedules, structural drawings, and relevant consultant information. For refurbishment and fit-out work, verified site measurements are equally important.
Design dimensions should not be treated as confirmed site dimensions. Existing walls may be out of plumb, concrete slabs may vary, and opening locations may differ from issued drawings. On complex or high-profile areas, a site survey or coordinated setting-out check should be completed before final fabrication dimensions are released.
The drawing team should also confirm the stone specification at the start. This includes stone type, origin where relevant, finish, thickness, edge profile, sealing requirements, intended pattern, and acceptable color variation. If the design requires book-matched slabs or a controlled vein sequence, that instruction must be carried through to the panel coding and cutting schedule. A generic note is not enough for a feature wall, reception desk, or hospitality lobby where visual continuity is part of the design intent.
Resolve the Full Cladding Build-Up
A stone elevation without a build-up section leaves too much open to interpretation. Coordinated stone cladding drawings should show the complete assembly from the finished stone face back to the structural wall or floor.
The required detail depends on the application. Internal dry-set stone may use a different system from externally ventilated cladding, wet-fixed stone, stone flooring, or a feature wall supported on a metal frame. The drawings need to identify substrate requirements, backing board or render where applicable, cavity dimensions, insulation, waterproofing, brackets, rails, anchors, adhesive, and joint treatment.
Fixing selection must align with stone dimensions and loading conditions. Larger or thicker panels may require mechanical support rather than relying solely on adhesive. Exterior applications also require careful consideration of drainage, ventilation, thermal movement, wind loading, and resistance to moisture ingress. The precise engineering responsibility should remain clear, but the shop drawings must coordinate the selected system with the architectural finish and the available construction depth.
When the available depth is restricted, the team may need to adjust panel thickness, support strategy, or adjacent finish build-ups. It depends on the project priorities. A flush junction may be visually desirable, but it should not compromise fixing access, waterproofing continuity, or tolerances required for installation.
Set Out Panels From Fixed Control Lines
Panel layout should begin with reliable control lines, not simply with equal divisions across an elevation. Center lines, floor levels, structural grids, door frames, glazing mullions, ceiling edges, and prominent architectural features all influence how stone joints should be positioned.
On a hotel corridor wall, for example, the stone joints may need to align with door jambs, signage zones, and ceiling features. On a villa facade, they may need to relate to window openings, shadow gaps, and parapet returns. In a retail store, the priority may be maintaining clean alignment around display fixtures and illuminated branding elements.
The drafting team should identify where cut panels can be placed discreetly. Narrow slivers at corners, around openings, or beside feature panels are rarely acceptable. A balanced setting-out approach may require slight adjustments to joint spacing or panel sizes, provided these remain within the stone supplier’s fabrication limits and the approved design language.
Horizontal and vertical joints should be considered together. A grid that works in elevation may create awkward returns at columns, recessed niches, or wall intersections. Sections and enlarged details are necessary to test these conditions before the layout is approved.
Detail Interfaces Where Most Site Issues Occur
The highest-risk locations are usually interfaces between the stone and another element. Drawings should provide enlarged details at external and internal corners, window and door reveals, skirtings, ceilings, floor transitions, expansion joints, access panels, service penetrations, and changes in stone direction.
At a door frame, for instance, the team must establish whether the stone butts to the frame, returns into the reveal, or receives a metal trim. Each option changes the opening size, frame coordination, and installation sequence. Similarly, a stone floor meeting timber, carpet, tile, or metal requires an agreed level difference and edge condition. Without this information, installers are forced to make aesthetic and technical decisions on site.
Movement joints deserve particular attention. Buildings move because of structural deflection, thermal change, shrinkage, and differential movement between materials. Stone panels have limited capacity to accommodate that movement. The cladding layout should respect building expansion joints and clearly show how those joints continue through the finished surface while maintaining the required visual standard.
MEP coordination is equally practical. Grilles, sockets, switches, sprinkler covers, signage, and access doors should be located before stone cutting begins. Where penetrations cannot be avoided, their exact size, position, edge treatment, and supporting arrangement should be shown. A poorly placed outlet can disrupt a book-matched composition or weaken a narrow stone panel.
Make the Drawings Useful to Fabricators and Site Teams
A coordinated package should allow each party to understand exactly what they are responsible for producing or installing. Elevations communicate the visual arrangement, but they should be supported by plans, sections, details, panel tags, and schedules.
Panel tags should identify each unique stone piece and connect it to dimensions, thickness, finish, quantity, edge treatment, and location. Where the project uses a vein-matched sequence, the drawing should define the orientation and relationship of adjoining panels. Fabricators need this information to optimize cutting and minimize waste without compromising the approved layout.
Dimensions should be controlled carefully. Overall dimensions establish the setting-out intent, while fabrication dimensions need to account for joint widths, perimeter clearances, and approved tolerances. Avoid over-dimensioning a drawing with conflicting measurements. The clearest approach is to identify primary datums and make it evident which dimensions govern.
Installation notes should be specific enough to support quality control without duplicating the specialist contractor’s method statement. State required joint widths, allowable alignment tolerances, sealant or grout requirements, protection measures, and coordination hold points. If a mock-up is required for a premium stone finish, identify what it is intended to verify: panel layout, joint consistency, veining, fixing approach, or final appearance under project lighting.
Use Reviews to Protect Design Intent and Program
Stone cladding coordination works best as a controlled review process rather than a single drawing issue. Architectural and interior design teams should confirm the visual layout. Structural and facade specialists should review support and movement requirements. The stone supplier or fabricator should confirm material availability, slab limitations, and workable fabrication tolerances. The installation team should verify sequencing and access.
Not every issue needs a complex solution. Sometimes a small adjustment to a reveal depth, joint line, or panel module prevents a major fabrication conflict. The value comes from resolving these decisions while changes are still inexpensive and before the work reaches the cutting floor.
Design Studio LLC supports this process through accurate, comprehensive shop drawings developed by a dedicated team of joinery and fit-out draughtsmen and coordinators. For GCC projects, that technical capacity helps align design intent with the practical realities of fabrication, procurement, and on-site installation.
The most effective stone package gives the site team fewer assumptions to make. When the panel layout, build-up, interfaces, and tolerances are coordinated early, stone can be installed as the durable, precise architectural finish it was specified to be.