
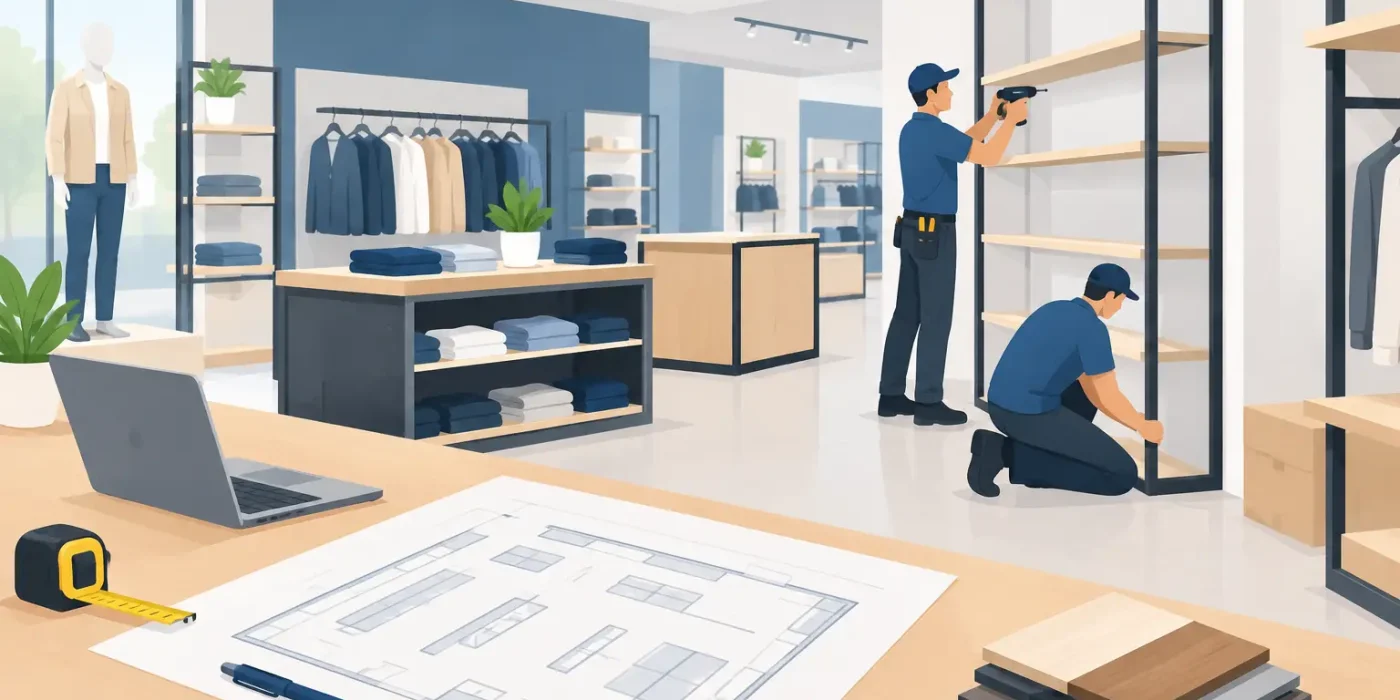
A retail opening date is often fixed long before the site is ready for fixtures. That makes the ability to plan retail fixture installation a critical project-control exercise, not a final-stage site activity. Display walls, cash wraps, shelving, fitting rooms, feature joinery, and branded elements must arrive in the correct sequence, fit the built conditions, connect to services where required, and present the intended customer experience from day one.
For retail brands, designers, fit-out contractors, and joinery manufacturers, the installation plan should begin when design intent is being translated into technical information. Accurate shop drawings and disciplined coordination reduce the avoidable issues that consume time on site: blocked access routes, inconsistent dimensions, unfinished walls behind fixtures, unconfirmed power points, missing hardware, and components fabricated before final approvals.
Start With an Installation-Ready Fixture Package
A fixture schedule alone is not enough to manage installation. It may identify a unit type, quantity, finish, and reference image, but it rarely resolves how the fixture meets adjacent finishes, whether it is freestanding or fixed, or what site conditions it relies on. The project team needs an installation-ready package that gives fabricators and installers the same understanding of the intended result.
Detailed shop drawings should establish overall dimensions, plan locations, elevations, sections, fixing methods, materials, finishes, edge details, hardware, and interfaces with ceilings, floors, walls, glazing, signage, and MEP services. For wall-mounted fixtures, drawings should clearly show the fixing zones, backing requirements, bracket locations, and allowable tolerances. For freestanding units, they should define leveling provisions, concealed connections, plinth conditions, and clearance around doors or circulation paths.
This level of information protects design intent while making responsibility clear. A joinery manufacturer can fabricate confidently. The fit-out contractor can prepare substrates and services. The installation team can verify what must happen before each fixture is moved into position.
Confirm the Site Before Fabrication
Retail projects frequently involve existing shells, partially completed fit-outs, or landlord-controlled areas. Dimensions shown on an architectural plan may not match the actual site condition. A small variance in a bulkhead line or a structural column can affect a full run of shelving or a custom cash counter.
Site verification should therefore occur before release for fabrication, especially for long wall runs, built-in displays, counters, fitting rooms, and items that interface with glazing or stone. Record finished floor levels, wall straightness, opening sizes, ceiling heights, service locations, and obstructions. Where the site is still evolving, identify which dimensions are provisional and agree on a final measurement hold point.
The right approach depends on the fixture. Modular gondolas can accommodate a degree of adjustment. A millwork feature wall with integrated lighting and tight reveals cannot. Treating both in the same way creates unnecessary risk.
Build the Retail Fixture Installation Sequence Around Dependencies
The order in which fixtures are installed has a direct effect on quality, access, and rework. It should be planned alongside the overall fit-out program, not added after fabrication is complete.
First, establish the prerequisites for every fixture group. These may include finished flooring, cured wall finishes, installed backing, tested electrical points, completed data cabling, painted ceilings, or access for lifting equipment. A cash wrap with integrated POS and power, for example, cannot be properly commissioned if the required outlets and data connections have not been tested. A display wall with integrated LED lighting should not be closed until wiring, drivers, access panels, and controls are verified.
Then organize installation by zone and dependency rather than by whichever shipment arrives first. Back-of-house storage and service counters may need to be installed early to support operations. High-value feature fixtures may need to remain protected until dusty ceiling and flooring work is complete. Wall-mounted systems generally require finished substrates and precise setting-out before installers begin.
A practical sequence often includes site setting-out, substrate preparation, primary fixed joinery, service connections, adjustable display components, loose furniture, signage, merchandising accessories, final adjustments, and snag correction. The exact order will vary, but the principle remains constant: do not install an element before its supporting work is complete and accepted.
Plan Access, Handling, and Storage Early
A well-detailed fixture can still fail operationally if it cannot reach its installation location. Retail sites in malls, airports, hotels, and mixed-use developments often have restricted delivery windows, loading dock rules, limited freight elevator capacity, and fixed routes through common areas.
Review the largest and heaviest components against access dimensions. Check crate sizes, turning radii, elevator openings, loading limits, and the need for special handling equipment. If a counter must be delivered in sections, the shop drawings should show the site joint, alignment method, and finish continuity. Breaking a fixture into smaller pieces may improve logistics, but it can increase installation time and introduce visible joints. The choice should be made deliberately, not at the loading dock.
Storage also requires planning. Fixtures stored in an unfinished or unsecured area can be damaged by moisture, dust, other trades, or repeated movement. Confirm where components will be received, inspected, protected, and staged. Label packages by zone and installation sequence so site teams do not waste time opening every crate to find one bracket or shelf set.
Coordinate Fixtures With Building Services and Finishes
Retail fixtures sit at the intersection of multiple trades. A feature display may require electrical power, low-voltage lighting, data, fire alarm interfaces, sprinkler coordination, security devices, digital screens, and ventilation clearances. If these interfaces remain unresolved, installation becomes a series of last-minute site modifications.
Coordinate fixture drawings with reflected ceiling plans, electrical layouts, MEP drawings, signage packages, and finish schedules. Confirm where conduits enter fixtures, where drivers or transformers are located, and how maintenance access will be achieved. Avoid placing critical electrical equipment inside inaccessible joinery cavities. Where fixtures conceal service points, provide removable panels or coordinated access doors without compromising the visual design.
Finishes demand the same discipline. A fixture finish sample may look correct in isolation but clash with adjacent flooring, wall cladding, metalwork, or brand graphics once installed. Approved material samples, mockups, and finish codes should be carried consistently from design documentation through fabrication and installation. This is particularly important for retail environments where repeated fixture modules must appear uniform under bright, varied lighting.
Set Quality Controls Before the Crew Arrives
Quality cannot be inspected into a project at the end. It must be built into the installation process through clear acceptance criteria. Before installation begins, agree on reference lines, datum levels, reveal sizes, acceptable tolerances, protection requirements, and inspection points.
For custom joinery, inspect alignment, level, plumb, joint consistency, finish quality, hardware operation, lighting performance, and security of fixings. Check that shelves are adjustable where specified, doors operate without rubbing, and integrated fixtures align with merchandising requirements. For customer-facing elements, minor inconsistencies are highly visible. A misaligned shelf bay or uneven feature wall can weaken the perception of quality across the entire store.
Document issues promptly through a coordinated snag process. Each item should identify the location, responsible party, required action, and target close-out date. Photographs help, but they should be supported by clear drawing references and measurable requirements. Vague comments such as “adjust as required” create uncertainty and slow down corrective work.
Use Shop Drawings as a Site Coordination Tool
The strongest retail installation plans use shop drawings as live coordination documents, not as paperwork issued only for approval. Installers need current, controlled drawings that reflect approved revisions, site measurements, fabrication decisions, and final service locations.
A disciplined drawing register prevents teams from working from superseded information. Revision clouds, issue dates, and clear notes should make changes easy to identify. When a site condition changes, assess the effect across all related drawings rather than updating one elevation in isolation. A revised counter depth may affect power outlets, flooring cuts, clearance zones, storage layouts, and adjacent signage.
Design Studio LLC supports this process with accurate, comprehensive joinery and fit-out shop drawings developed for fabrication and flawless on-site execution. Its dedicated technical team coordinates the details that connect design, manufacture, and installation, helping project teams make decisions before uncertainty reaches the site.
Protect the Store Through Handover
Installation is complete only when the fixtures are safe, functional, clean, and ready for merchandising. Before handover, verify that all loose components, keys, shelf pins, touch-up materials, warranties, and maintenance information are accounted for. Confirm that protective films are removed at the right time, surfaces are cleaned without damage, and final lighting levels support the intended display strategy.
The most effective way to plan retail fixture installation is to treat every fixture as part of a coordinated construction system. When drawings, site checks, logistics, services, and quality controls are aligned early, the opening period becomes more predictable and the finished store reflects the standard the brand intended to deliver.