
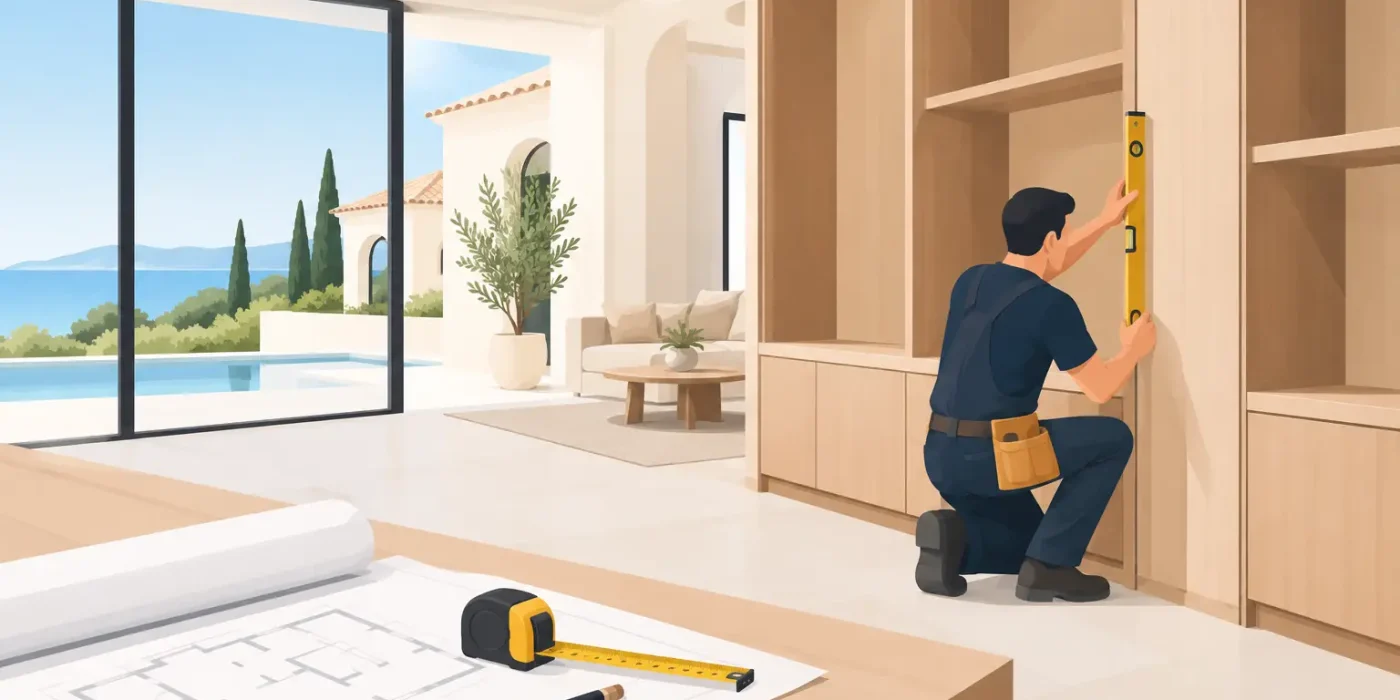
A luxury villa can carry a strong design concept from entrance to bedroom, yet the project is often judged by the details people touch every day: a wardrobe door that closes flush, stone meeting timber without an exposed gap, and a kitchen panel that aligns with integrated appliances. This villa joinery guide focuses on the technical decisions that convert those expectations into fabrication-ready work and dependable site installation.
For architects, interior designers, developers, fit-out contractors, and joinery manufacturers, villa joinery is not simply a package of cabinets, doors, and decorative wall panels. It is a coordination exercise across architecture, MEP services, finishes, specialist suppliers, and site conditions. Clear shop drawings provide the common reference that keeps those interfaces under control.
Start Villa Joinery Planning Before Fabrication
Joinery should be developed once the design direction is sufficiently stable, but well before material orders and workshop cutting begin. A layout alone cannot answer the questions a fabricator and installer need resolved. They require confirmed dimensions, material build-ups, hardware requirements, fixing methods, and relationships with surrounding trades.
The first technical review should verify the construction-ready shell. Wall dimensions, floor levels, ceiling heights, opening sizes, beam positions, and service routes all affect the final joinery dimensions. On villa projects, minor inconsistencies in civil works can become highly visible where full-height cladding, flush doors, shadow gaps, or continuous stone lines are specified.
Site measurement is therefore a control point, not a formality. The joinery package should distinguish between dimensions taken from approved architectural drawings and dimensions that must be verified on site before production. This approach protects both the design team and the manufacturer from costly assumptions.
Define the Joinery Scope by Space
A room-by-room scope prevents missing items and overlapping responsibilities. Typical villa packages include kitchens, wardrobes, vanities, TV walls, feature cladding, internal doors, home offices, bars, library units, concealed storage, and dressing rooms. Bespoke furniture may sit within the same documentation package when its interfaces with fixed joinery need coordination.
Each item should identify its reference code, location, overall dimensions, finish, internal configuration, hardware, and installation requirements. A wardrobe may appear simple in elevation, for example, but its technical detail must establish carcass material, shelf thickness, hanging rail positions, drawer construction, door type, handles, lighting provisions, ventilation, and clearances for use.
What Complete Villa Joinery Shop Drawings Should Show
A strong shop drawing set explains exactly what is to be made, how it is assembled, and where it is installed. It gives the workshop enough information to fabricate consistently while enabling consultants and project managers to review design compliance before work reaches site.
Plans establish locations and setting-out dimensions. Elevations communicate the visual composition, panel divisions, grain direction where relevant, door alignment, and relationships with ceilings or adjacent finishes. Sections are critical for understanding depth, substrate requirements, recesses, voids, fixing zones, and service coordination.
Detailed drawings should address junctions that are likely to create site queries. These include the meeting point between timber veneer and stone, a cladding panel returning into a window reveal, a wardrobe meeting a dropped ceiling, or a concealed door integrated into a feature wall. Enlarged details turn design intent into measurable construction information.
Material schedules and finish legends are equally necessary. Terms such as “oak veneer” or “painted finish” are too broad for procurement and quality control. Documentation should define the specified substrate, veneer cut or matching method where required, stain or lacquer system, sheen level, edge treatment, metal finish, stone type, and approved sample reference. The objective is not to over-document every surface, but to remove ambiguity where different interpretations would alter cost or appearance.
Hardware and Functional Requirements
Hardware is a performance decision as well as an aesthetic one. Hinges, drawer runners, pull-out systems, pocket-door mechanisms, locks, stays, and lift systems must be selected around the actual door size, weight, opening frequency, and required access. A wide, tall wardrobe door may need more hinges or a different mechanism than a standard cabinet front.
The drawings should identify hardware brand or approved equivalent, model, finish, quantity, and fixing requirements. Where the project calls for handleless profiles, touch-latch doors, or push-to-open mechanisms, tolerances become particularly sensitive. These systems depend on accurate alignment and consistent gaps, so they should not be left for workshop interpretation.
Lighting within joinery also needs early coordination. LED channels require defined profiles, diffuser types, driver locations, access panels, cable routes, switching requirements, and heat considerations. A polished installation can be compromised if the electrical connection, transformer access, or control logic has not been coordinated before the unit is closed.
Manage Materials, Tolerances, and Movement
High-end villa interiors often combine timber, lacquer, metal, glass, leather, stone, and engineered boards in the same elevation. Each material behaves differently during fabrication and installation. Timber-based products can move with changes in temperature and humidity. Stone has weight and limited tolerance for unsupported spans. Lacquered finishes can reveal uneven substrates or poorly planned joints.
The correct solution depends on the material and the local conditions. A continuous veneer elevation may need deliberately planned panel joints to accommodate movement and make future replacement possible. A full-height unit may require scribing at the ceiling or side walls rather than being manufactured to a theoretical dimension. These are practical decisions that protect the visual standard after installation, not compromises in design quality.
Tolerances should be understood across the complete assembly. The architectural opening, wall finish, metal frame, joinery carcass, door fronts, and hardware all introduce dimensional variation. Shop drawings should identify the intended visible gaps, shadow gaps, and alignment lines while allowing realistic adjustment zones at concealed edges.
This is especially relevant in villas with curved walls, decorative plaster, natural stone, or hand-finished surfaces. An installation team needs a clear strategy for achieving the visible design line even where the background construction is not perfectly uniform.
Coordinate Joinery With MEP and Other Trades
The best joinery package can still fail if services are coordinated late. Electrical outlets, data points, AC grilles, plumbing connections, fire devices, speaker locations, and access panels regularly intersect with villa joinery. Leaving these matters to site coordination increases the likelihood of rework, delayed approvals, and visible cutouts.
A kitchen is a clear example. Cabinet dimensions must align with appliance specifications, water points, drainage, power loads, ventilation, countertop thickness, and backsplash details. Appliance data should be reviewed rather than assumed, particularly for built-in coffee machines, wine coolers, refrigerators, and cooktops with specific ventilation requirements.
The same discipline applies to TV walls and bedroom headboards. Confirm cable pathways, conduit sizes, access for maintenance, ventilation around equipment, mounting support, and final screen dimensions. A clean finished elevation depends on resolving the components behind it.
Where fire-rated doors, acoustic requirements, or specialist wall systems are involved, the joinery detail must respect tested assemblies and consultant requirements. Decorative finishes cannot undermine life-safety or performance obligations.
Build an Approval Process That Protects the Schedule
Approvals should occur in a logical sequence: coordinated shop drawings first, then material samples and mockups where needed, followed by final site measurement and production release. Trying to accelerate fabrication before resolving the first two stages can shift risk into the workshop and installation program.
A disciplined submittal should make review efficient. Drawing revisions need clear clouding and revision references. Open points should be recorded with responsible parties and target dates. Changes that affect dimensions, materials, or hardware should be evaluated for cost and schedule impact before they are issued for fabrication.
Mockups are particularly valuable for prominent villa areas such as entrance portals, feature walls, kitchens, and dressing rooms. They allow the team to assess color, joint alignment, sheen, hardware feel, edge details, and the relationship between materials under project lighting. A mockup does not replace technical drawings, but it validates the visual and tactile result before repeated production begins.
Use Documentation to Control Cost Without Diluting Design
Cost control is strongest when it starts with technically informed choices. A joinery detail may look identical in a rendering while carrying very different fabrication labor, material waste, hardware cost, or installation complexity. Large seamless panels, curved components, concealed doors, specialty finishes, and intricate metal inlays can all be appropriate, but they should be detailed with a clear understanding of their delivery requirements.
Value engineering works best when it preserves the visible design priorities. It may involve rationalizing panel sizes, standardizing internal carcass construction, selecting readily available hardware, or adjusting concealed backing materials. It should not mean reducing a carefully detailed feature wall to an unclear specification that produces inconsistent results.
A dedicated technical drafting team can make these decisions easier by presenting coordinated alternatives before fabrication begins. Design Studio LLC supports this process with accurate joinery and fit-out shop drawings that align design intent, workshop requirements, and site execution across villa projects.
The most reliable villa joinery is rarely the result of a last-minute site solution. It comes from drawings that anticipate interfaces, specify the visible standard, and give every trade a clear path from approved design to installed work.